How to get live internet speed in Taskbar (Windows)
In Android, you can get live internet speed simply by changing a setting, but for windows, there is no setting available. You have to install a small application(app) to get live internet speed .in windows speed will be shown in the taskbar.
follow the steps to get live internet speed in your taskbar.
Step 1-Downloading the application
To get live internet speed, you have to install "netspeedmoniter" application.
After opening the website click the download button.
And the download will be started.
Step- 2 -Installation
Now open the application by double-clicking on the application or right-click the application and then click install
Step -2.1
Now run the application
Step-2.2
Read the given instruction and then click next
Step-2.3
if you want to donate them then click donate or skip the step.
And click next.
2.4
if you accept the license and agreements .check the box and then click Next.
2.5
in this step, you can select the installation folder, for changing the installing folder click browse and select the folder.
then click next
2.6
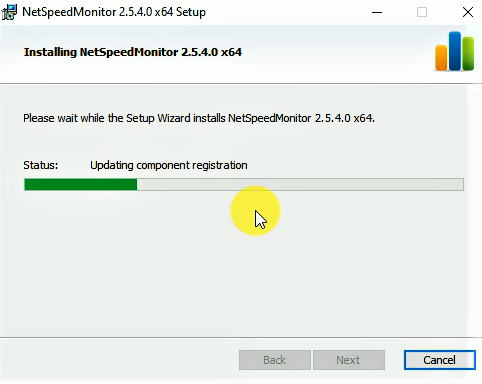
here click install and installation will be started.
After installation complete click finish.
Step -3
Now netspeedmoniter will ask permission for the taskbar.
Click yes
step-4
now you will see internet speed, if unable to see then follow these steps.
Right-click on the internet speed on the taskbar.
now click configuration
if you are using wifi then select Realtek PCIe and click apply then ok
Else
if you are using ethernet than click Dell wireless / or hp wireless
For live demonstration
Know computer knowledge and more from our new blog Let-knowhow.


0 Comments